What I did today

Today I finally wrote another post on my dev blog after months and months. I’m trying to get into posting more regularly so that people who follow me aren’t just left completely in the dark for long periods of time. It also gives me some time to really think about what I’m doing and what I want to do as I write. Having it solidified into one place rather than flowing in my brain space helps a bit.

I also got more work done on a prototype for a game idea that I started two days ago that I hope to have finished by the end of the week for some focus testing.

Today I began to create a very basic 3D game engine with everything I’ve learnt about OpenGL. I’ve been practicing for some time now but sometimes it works, sometimes it just doesn’t. I’m getting there, though.

I was just got my first two college acceptances from Georgia Southern University and Mercer University :o . Pretty cool but hopefully I get into Georgia Tech :smiley:

@Roquen
Oh nice I studied that equation in my Computer Graphics course! :slight_smile:

@kingroka123
Come to Georgia Tech!! :smiley:

Here I am, stuck being a 13-year-old :smiley:

That’s where everyone who doesn’t get into Tech goes. There’s a nice 2-year transfer program though :slight_smile:

…Sniff :frowning:

Hmm, you wouldn’t have some shader source code for that? =P

sure thing. tho’ it requires proper input data, not sure if it really helps :wink: :

[icode]src_tex[/icode] is a RGB16F texture which contains the bloom data, mostly black with pixels too bright to fit into 0.0 … 1.0 range. it’s already blurred alot, using a ping-pong separated gauss-blur for each mipmap level. the sampler for that texture is set to linear with [icode]GL13.GL_CLAMP_TO_BORDER[/icode] which is set to transparent. [icode]src_tex2[/icode] is the same texture with another sampler object with clamping set to [icode]GL12.GL_CLAMP_TO_EDGE[/icode].

since i store custom blurred bloom masks in each miplevel, reading a deeper mip results in more blurrines. the effect is also very affected by how you extract the bloom data from hdr colors, cutoff, etc.

this code is not really optimised or finished, more a first attempt scratch.

#version 400

in vec2 st0;
out vec3 frag;  // output is another RGB16F texture

uniform sampler2D src_tex;
uniform sampler2D src_tex2;

uniform float aspect;        // display aspect ratio width/height
uniform float inv_aspect;    // 1.0 / aspect

uniform float yfov;   // screen y-fov radians, i set this to 0.0f if rendering 2D

#define lumcoeff vec3(0.2125, 0.7154, 0.0721)
#define luminance(color) (dot(lumcoeff, color))

#define flare_chromatic_disp
#define flare_saturation 0.5

// toggle horizontal flare
#define streak

// function and macro versionof distance to screen-border
float edge_dist_f( const vec2 st ) { return st.x*st.y*(1.0 - st.x)*(1.0 - st.y) * 16.0; }
#define edge_dist(st) ( st.x*st.y*(1.0 - st.x)*(1.0 - st.y) * 16.0 )

// 3rd argument is the amount of RGB dispersion
#ifdef flare_chromatic_disp
  #define flare_sample_fade( st, mip, disp ) ( vec3( \
     texture(src_tex, st + to_center * disp, mip).r * edge_dist_f( (st + to_center * disp) ), \
     texture(src_tex, st,                    mip).g * edge_dist(st), \
     texture(src_tex, st - to_center * disp, mip).b * edge_dist_f( (st - to_center * disp) )  \
  ) )
  #define flare_sample( st, mip, disp ) ( vec3( \
     texture(src_tex, st + to_center * disp, mip).r, \
     texture(src_tex, st,                    mip).g, \
     texture(src_tex, st - to_center * disp, mip).b  \
  ) )
#else
  #define flare_sample_fade( st, mip, disp ) ( texture(src_tex, st, mip).rgb * edge_dist(st) )
  #define flare_sample( st, mip, disp ) ( texture(src_tex, st, mip).rgb )
#endif

void main()
{
  vec2  st                = st0;
  vec2  mirror            = vec2(1.0) - st;
  vec2  to_center         = vec2(0.5) - st;
  vec2  to_center_as      = (vec2(0.5) - st) * vec2(1.0, inv_aspect);
  vec2  to_mirror         = mirror - st;
  float to_center_dist    = length(to_center) * 2.0;
  float to_center_as_dist = length(to_center_as) * 2.0;
  float to_edge           = edge_dist(st0);
  
  vec3 smp = vec3(0.0);
  
  // 3 halos
  
  vec2 st_0 = st     - to_center * +2.3;
  vec2 st_1 = mirror + to_center * +3.0;
  vec2 st_2 = mirror + to_center * -0.1;
  
  float fade_2 = edge_dist(st_2);
  fade_2 = 1.0 - pow( 1.0 - fade_2, 8.0 );
  
  #define halo_mip_offset 1.0
  
  smp += flare_sample_fade( st_0, -1.0 + halo_mip_offset, 0.5 ) * 0.5;
  smp += flare_sample_fade( st_1, -1.0 + halo_mip_offset, 0.5 ) * 0.6;
  smp += flare_sample     ( st_2,  1.0 + halo_mip_offset, 0.1 ) * fade_2 * 0.65;
  
  // ring
  
  float radius_scale = 1.33 + yfov - (step(0.01, yfov) * 1.2);
  vec2  st_h = mirror - to_center * 1.07 * radius_scale * to_center_as_dist * to_center_as_dist;
  
  smp += flare_sample( st_h, halo_mip_offset, 0.05 ) * to_center_dist * to_center_dist * 0.5;
  
  //
  
  #ifdef flare_saturation
    smp = mix(vec3(luminance(smp)), smp, flare_saturation);
  #endif
  
  // streak
  
  #ifdef streak
  
    #define streak_saturation 0.5
 
    #define streak_samples 30
    #define streak_samples_i 0.0333333
    #define streak_mip 0.0
    #define streak_width 0.33
    #define streak_scale 0.8
    
    vec3 s_smp = vec3(0.0);
    
    for( int i = 0; i < streak_samples; i++)
    {
      float ramp  = streak_samples_i * i;
      float tri   = ramp * 2.0 - 1.0;
      float dist  = abs(tri);
      float rdist = 1.0 - dist;
      float o     = tri * streak_width;
      vec2  s_st  = vec2(st.x + o, st.y);
      float edist = max(0.0, 1.0 - pow( 1.0 - edge_dist(s_st), 8.0 ));
      
      s_smp      += texture( src_tex2, s_st, streak_mip ).rgb * rdist * edist;
    }
    
    s_smp *= streak_samples_i;
    
    #ifdef streak_saturation
      s_smp = mix(vec3(luminance(s_smp)), s_smp, streak_saturation);
    #endif
    
    smp += s_smp * streak_scale;
    
  #endif
  
  frag = smp;

}

so? You have more time to learn more, programming more, enjoy more :smiley:

Enjoy it while it lasts.

I wish I had started programming when I was 13… Well I began at 16, a year and some months ago, so that is still nice.

@basil_
Protip: use GL_R11F_G11F_B10F as texture format for bloom. The precision is almost the same, you just lose the sign bit and a small amount of precision while halving the bandwidth cost and memory usage. GL_RGB16F is padded to GL_RGBA16F, i.e. 64 bits while GL_R11F_G11F_B10F is 32 bits.

EDIT: I see no horizontal streak in the video you posted. I’m also not entirely sure how the “ring” works from the video…

aah right. thanks for the hint. will try that format.

the horizontal streaks look almost like the bloom itself, but it’s there. it is a bit overkill anyway.

the ring is defined at line 75. mostly from scaling the offset to center by the offsets length squared. none of it is any near to “physically correct”, just “looks good to me” :wink: … i mean, for some reason i doubled the distance-to-center - adding that to the mirrored coords should just land at the origin anyway. i dont get it.

interesting.

as you suggested, using [icode]R11F_G11F_B10F[/icode] seems to be a good idea. saves about 0.5 - 1.0 ms frametime on a texture heavy scene (NV GTX 970).

tho’ the banding is too noticeable. even worse than 8 bit :o. here’s a example boosted by 200% :

8 bit

http://memleaks.net/things/RGB111110_banding_0.jpg

16 bit packed

http://memleaks.net/things/RGB111110_banding_1.jpg

16 bit

http://memleaks.net/things/RGB111110_banding_2.jpg

32 bit

http://memleaks.net/things/RGB111110_banding_3.jpg

edit but it’s good enough for the bloom mask and flare output. thanks D :slight_smile:

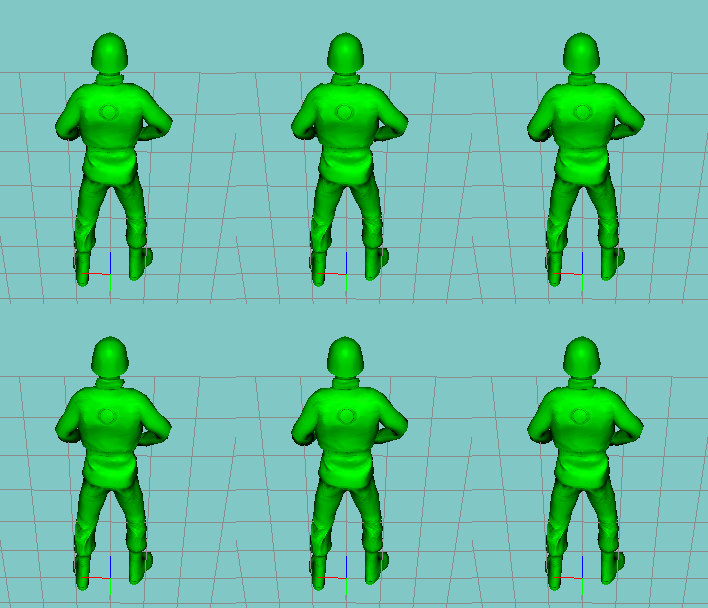
Artist finished the soldier model for our Army Men game :slight_smile: I finished rigging it about an hour ago.

(Color wont be quite as green in game)

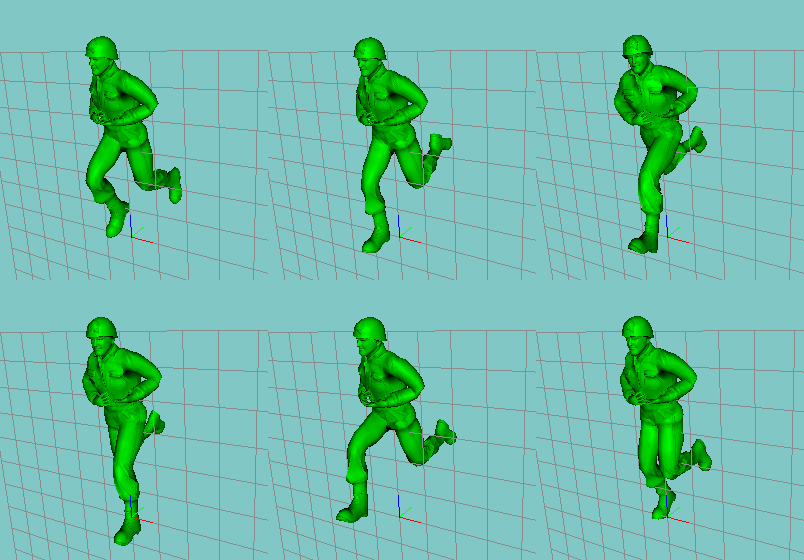
[EDIT] Running animation… it’s… a start?

Still lots of work to go.

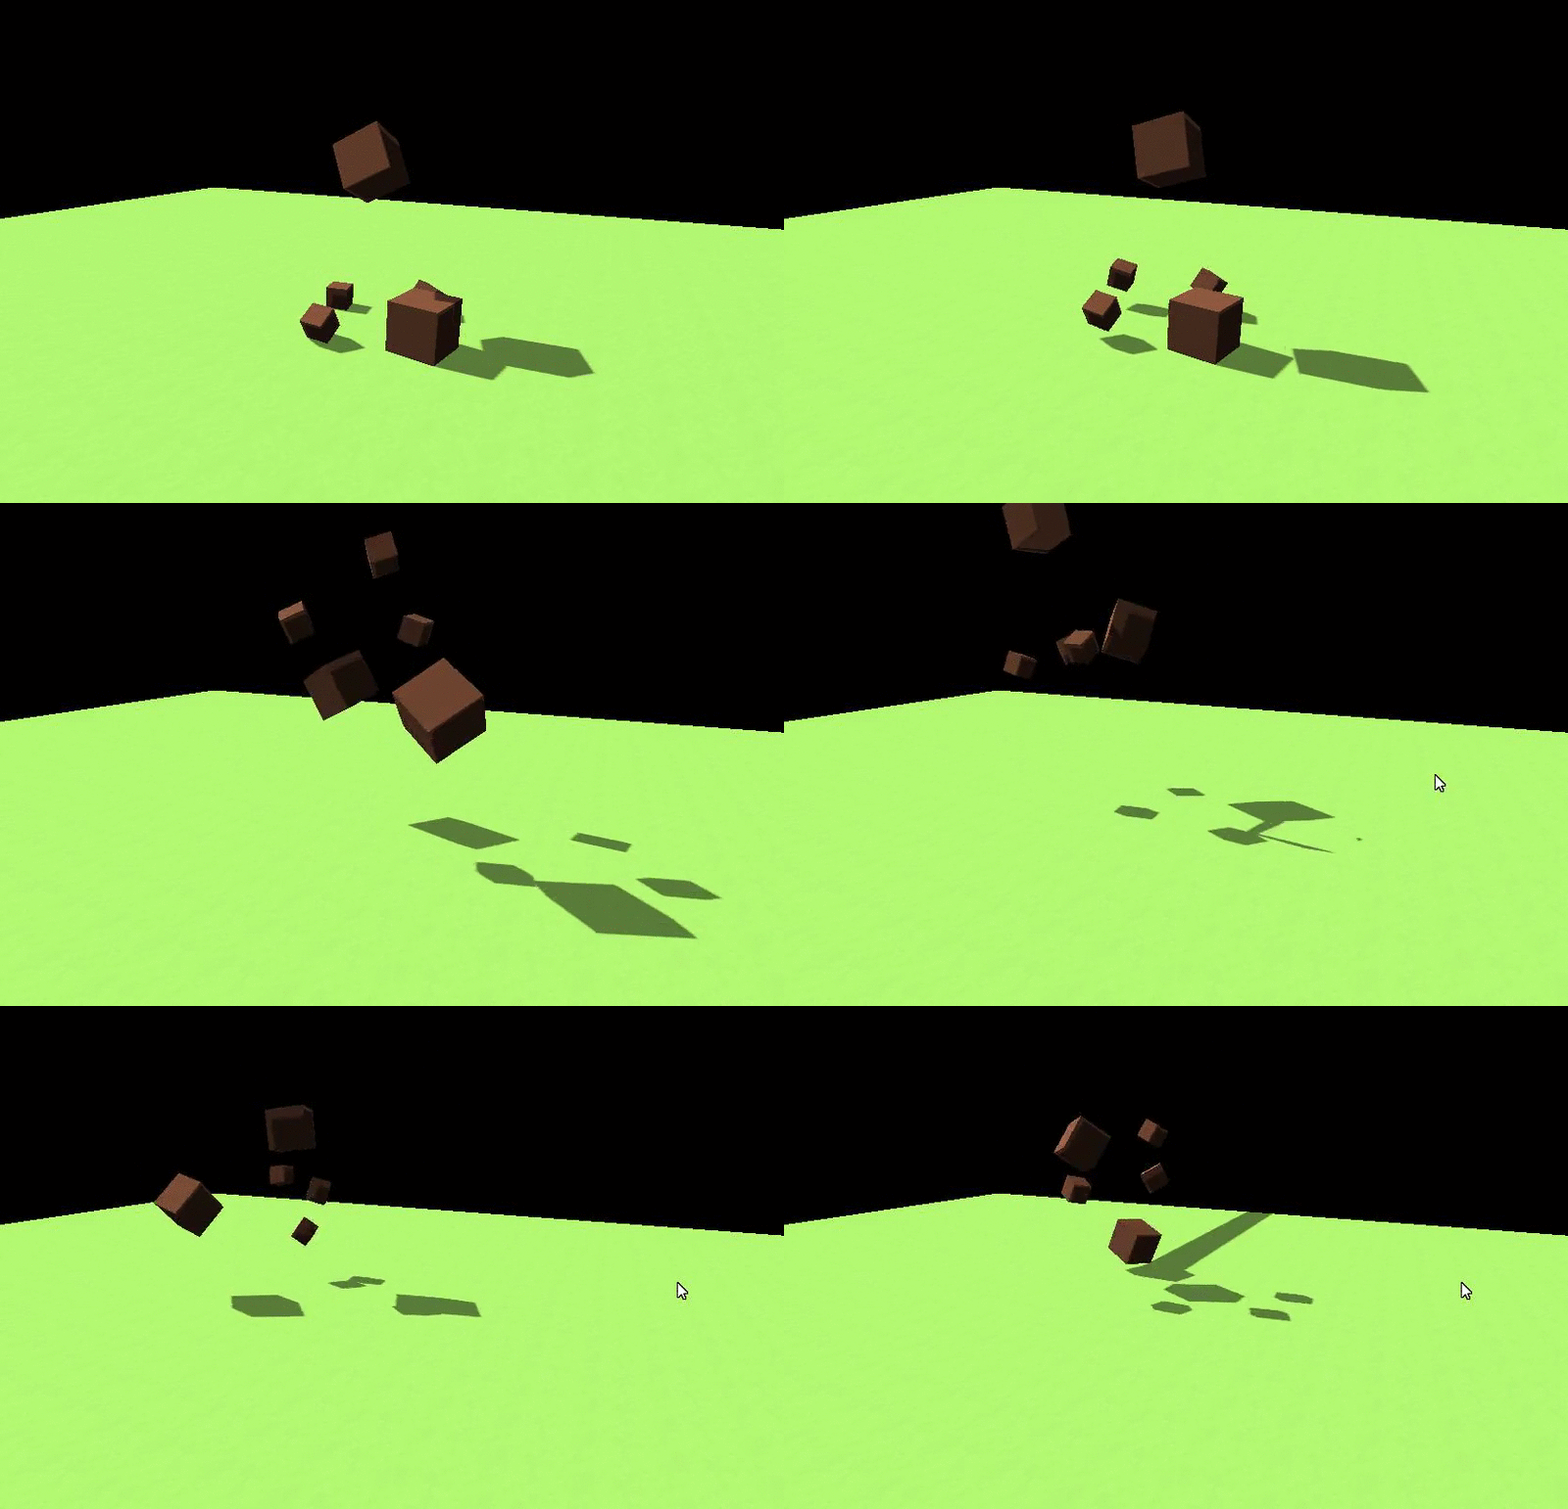
Some work on constraints:
(Ignore shadow issues, for now)

I try This:


http://s24.postimg.org/qfruvmwgh/hhh_2.jpg

and that was not best idea ^^
so many colors - and this lines XD

leave it as it be before - in any case it’s not visual clicker

p.s and this lines eating brain XD (go deeppppp in it)
hm it can be usable in some cases…

So for the last couple of weeks I’ve been working on a project based around the idea of “Impossible Spaces”. I’ve made a video showing off the first type of impossible space here:

ciLv2gGRb10

Due to my poor texture choice, its kinda hard to see in the video, however the idea is that the wall you see when you look through the pillars at the beginning is the same wall as the one you see when you’re not looking through the pillars, so when you’re looking through the pillars, the space between the camera and the wall is lesser than it otherwise would be.

EDIT: I also turned 18 today.

EDIT2: Riven baked me a birthday cake.

http://puu.sh/ljuFG/875f2a8007.png

I love the idea of non-Euclidian spaces! Antichamber is one of my favorite games for that reason. The technical aspect of implementing that is what intrigues me the most. Is there a specific resource that really fit what you were trying to do?

Longarmx, I achieved this specific effect through the use of ‘portals’.
Consider the following the screenshot:

http://puu.sh/ljvH6/f16d12dc20.jpg

From above, it has the following layout:

1111111111111
1...........1
1...........1
1...........1
1...........1
1....111....1
1....1.0..C.1
1....101....1
1...........1
1...........1
1...........1
1.....2.....1
1...........1
1111111111111

Where [icode]1[/icode] represents a wall, [icode]2[/icode] represents the blue cube, [icode]C[/icode] is the camera and [icode]0[/icode] represents a portal.

So even though there is only one blue cube on the map, it would appear as though there are two. The interesting thing is here is that I could walk between the two pillars, go through the portal and despite only walking a straight line, I’d have rotated 90°.

EDIT: LiquidNitrogen suggested a version with moving cubes.

Thus, here is the gfy