The LibGDX wiki on this topic is quite confusing and may be hard to understand.
I will assume you have already created your map in Tiled and saved it (.tmx) and your tileset images in a folder.
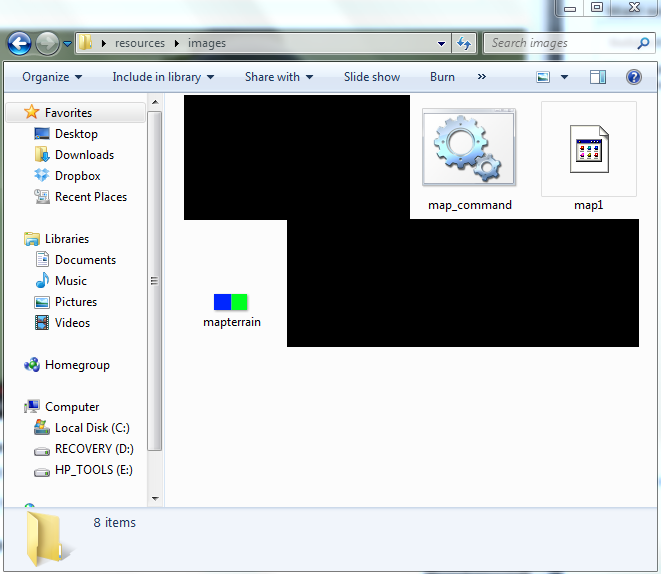
Save location of your original (.tmx) map and resources:
We’ll call this “resources\images”
In that folder we have the .tmx map file, the mapterrain.png (the tileset used in the Tiled application), and a .bat file called “map_command.bat” which we will go into later.
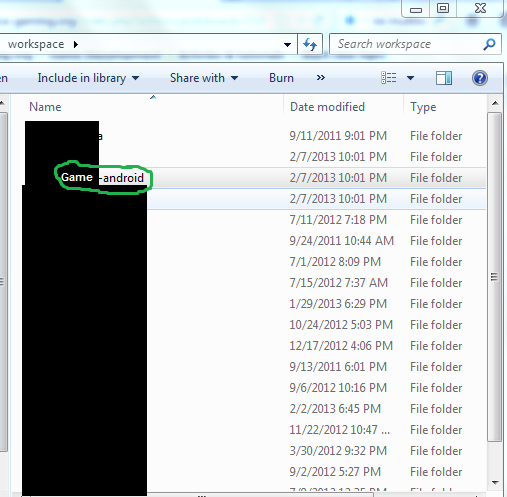
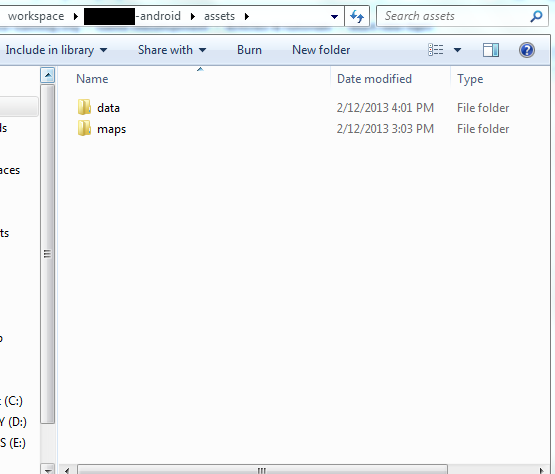
Now let’s go into our game project’s asset folder:
Be sure you are in the “-android” folder!
Create a NEW folder called “maps” in the assets folder. This is important because when we pack the map file, the folder must be EMPTY!
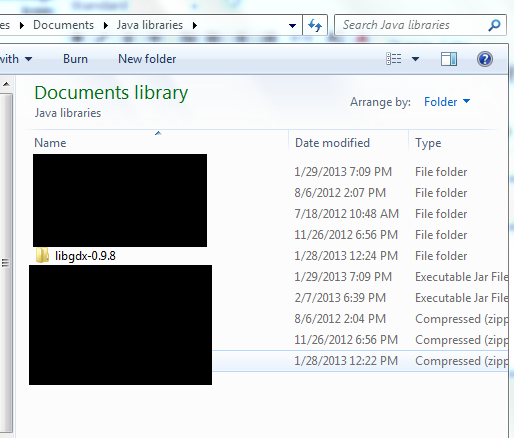
Go to the location of your libgdx.zip file. The location where you downloaded the zipped folder for libgdx.
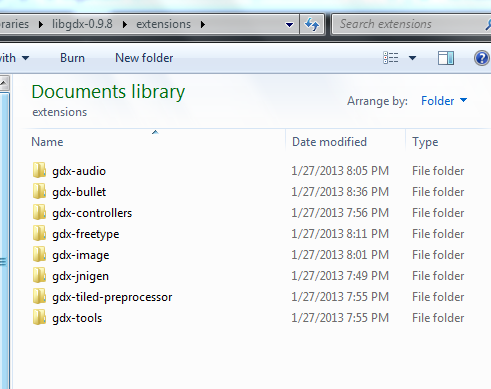
Navigate into the “extensions” folder and you should see these folders:
If you don’t see them, then you dun goofed.
Here comes the trickiest part. Hold on to your seat.
Open up Notepad and using the folder locations, fill this code in (BE SURE TO USE FULL FILE PATHS!!! FROM THE CODE BELOW, YOU SHOULD BE ABLE TO FIGURE OUT WHICH FOLDERS THEY’RE REFERRING TO!!!):
java -classpath "***LOCATION_TO_LIBGDX_FOLDER***\libgdx-0.9.8\gdx.jar";"***LOCATION_TO_LIBGDX_FOLDER***\libgdx-0.9.8\extensions\gdx-tools\gdx-tools.jar";"***LOCATION_TO_LIBGDX_FOLDER***\libgdx-0.9.8\extensions\gdx-tiled-preprocessor\gdx-tiled-preprocessor.jar" com.badlogic.gdx.tiledmappacker.TiledMapPacker "***LOCATION_TO_SAVE_LOCATION_OF_ORIGINAL_MAP_AND_TILESETS***\resources\images" "***LOCATION_TO_WORKSPACE_GAME_FOLDER***\Game-android\assets\maps"
pause
Simplified version without all the CAPS:
java -classpath "libgdx-0.9.8\gdx.jar";"libgdx-0.9.8\extensions\gdx-tools\gdx-tools.jar";"libgdx-0.9.8\extensions\gdx-tiled-preprocessor\gdx-tiled-preprocessor.jar" com.badlogic.gdx.tiledmappacker.TiledMapPacker "resources\images" "Game-android\assets\maps"
pause
Now, save it as a .bat (This is what that “map_command.bat” was in one of the pictures above).
Run it!
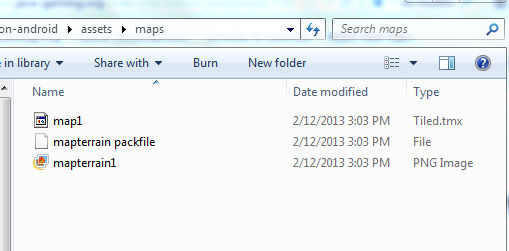
In your game’s workspace folder, the “assets\maps” folder should look something like this now:
Now you are ready to go to http://code.google.com/p/libgdx/wiki/GraphicsTileMaps and continue following the wiki on how to use tile maps in your code.
Each time you create a new map or modify an existing one, you MUST clear out the “assets\maps” folder before running the .bat file.
Hopefully this tutorial helped you!

