
Hello everyone. I recently had the fantastic opportunity to work with Orange451 on his LWJGL3 GUI solution, LWJGUI. I was able to not only contribute some cool new tools to it, but also learn a lot about UI tool creation and NanoVG. While originally I was going to use this solution to create my program ClearDialogue, I realized very early in that what I needed was something a bit more barebones because I was trying to force his API to work with a program that was much simpler in nature than what it’s designed to normally handle (complex programs that require many moving parts to function). Thus, I decided to start the Clear project, which is an API meant to work in modular pieces and give a lot of flexibility to the user-interface creation process by having less moving parts.
Github Repository Link:
What is Clear?
Clear is a light-weight open source LWJGL3 toolkit split into two pieces:
- ClearWindows - a simple LWJGL3 windowing solution that allows you to quickly create a GLFW window with OpenGL capabilities, along with a basic framework for making applications/games quickly
- ClearVG - an extension of ClearWindows that allows you to add NanoVG support to your ClearWindow implementation, along with some basic tools for UI creation and custom-extensions
This means that fundamentally, Clear is slightly more complicated to use than LWJGUI and requires much more time to get started with. If you’re looking for a framework that has a lot of functionality already built in, Clear is not for you. I highly recommend the use of LWJGUI in cases like this, as it’s feature rich and actively maintained by a very talented developer.
What is the use-case for Clear?
Clear offers the ability to have a stable framework to start from when creating any kind of application. ClearWindows can be used for game creation because it allows you to quickly set up a GLFW window along with all of the required input callbacks, gameplay loops, timers, and lastly, OpenGL integration. On the other hand, the toolset also contains ClearVG, which adds rendering functionality that can be beneficial for creating extremely custom user-interfaces by only including the most barebones features by default. There is only one UI coordinate system, and layout systems of any kind must be added manually by the user outside of the included WidgetAssembly system (see the example programs to learn more). Components such as buttons must be assembled manually as well, but this allows the user to create the program to work in any fashion that they like.
It’s important to note that while these systems are barebones, they’re also designed from the ground-up to be fast and reliable to use - meaning that while you do have to build a lot of the features you’ll want yourself, it’s been designed so that this can be done extremely fast and painlessly.
I’ve had all this working for about a month now and have done some extensive testing, but there may still be some hiccups here and there once it’s out in the wild. Let me know if you run into any issues or need help using these tools! I hope it’s helpful to some of you guys! Especially if you’re a newcomer to LWJGL3, this may help you get started with using it!
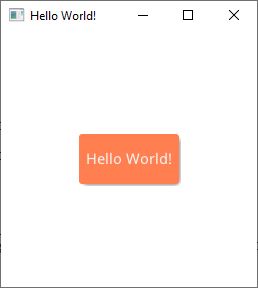
Code of the above Hello World program in its entirety:
public class ClearHelloWorldDemo extends ClearApp {

	private static final int WINDOW_WIDTH = 256;
	private static final int WINDOW_HEIGHT = 256;

	protected WidgetAssembly button;
	protected Font font;

	public static void main(String[] args) {
		ClearApp.launch(new ClearHelloWorldDemo(), args);
	}

	@Override
	public void init(WindowManager windowManager, Window window, NanoVGContext context, WidgetAssembly rootWidgetAssembly, String[] args) {

		/*
		 * WidgetAssembly (containers for various widgets)
		 */

		button = new WidgetAssembly(100, 50, new WidgetClip(WidgetClip.Alignment.CENTER));

		/*
		 * Background - rectangle with dropshadow
		 */

		float cornerRadius = 3f;

		button.addChild(new DropShadowWidget(cornerRadius));
		button.addChild(new RectangleWidget(cornerRadius, ClearColor.CORAL, true));

		/*
		 * Text
		 */

		try {
			font = new Font("fonts/NotoSans/", "NotoSans-Regular", "NotoSans-Bold", "NotoSans-Italic", "NotoSans-Light").load(context);

			LabelWidget label = new LabelWidget(ClearColor.WHITE_SMOKE, "Hello World!", font, FontStyle.REGULAR, 20);
			label.addChild(new WidgetClip(WidgetClip.Alignment.CENTER));
			button.addChild(label);
		} catch (IOException e1) {
			e1.printStackTrace();
		}

		/*
		 * Input - click the WidgetAssembly to toggle rendering and show the bounding
		 */

		button.setOnMouseMotionEvent(e -> {
			if (button.isMouseIntersectingThisWidget(window)) {
				ClearStaticResources.getCursor(Cursor.Type.HAND).apply(window);
			} else {
				ClearStaticResources.getCursor(Cursor.Type.ARROW).apply(window);
			}
		});

		button.setOnMouseButtonEvent(e -> {
			if (e.isPressed() && button.isMouseIntersectingThisWidget(e.getWindow())) {
				button.setBackgroundFill(button.getBackgroundFill() != null ? null : ClearColor.LIGHT_GRAY);
				button.setRenderChildren(!button.isRenderingChildren());
			}
		});

		/*
		 * Add button to root assembly
		 */

		rootWidgetAssembly.addChild(button);
	}


	@Override
	protected void endOfNanoVGApplicationCallback() {

	}

	@Override
	public Window createWindow(WindowManager windowManager) throws GLFWException {
		return windowManager.createWindow("Clear", WINDOW_WIDTH, WINDOW_HEIGHT, true, true);
	}

}
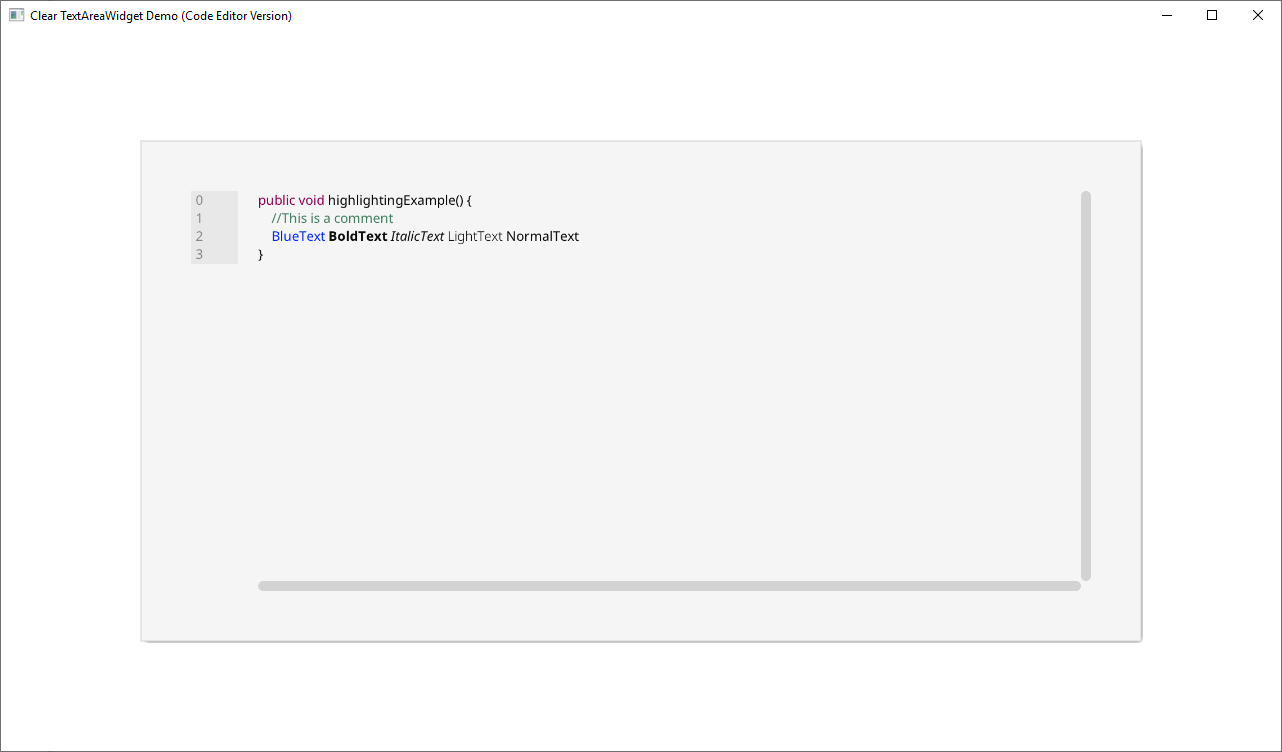
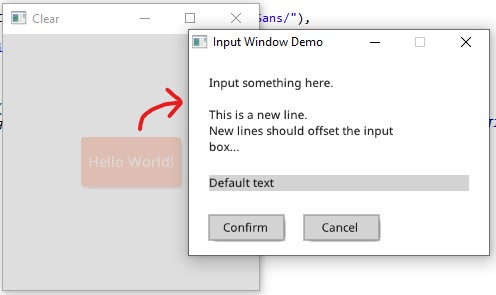
Screenshots of example programs made with Clear:
Code Area Example
Input Sub-Window Example
Projects developed entirely with ClearWindows and ClearVG:
ClearDialogue - branching video game dialogue solution (Click me!)
https://user-images.githubusercontent.com/6147299/56083625-2ae82500-5ded-11e9-8363-d6cc44f202e2.png